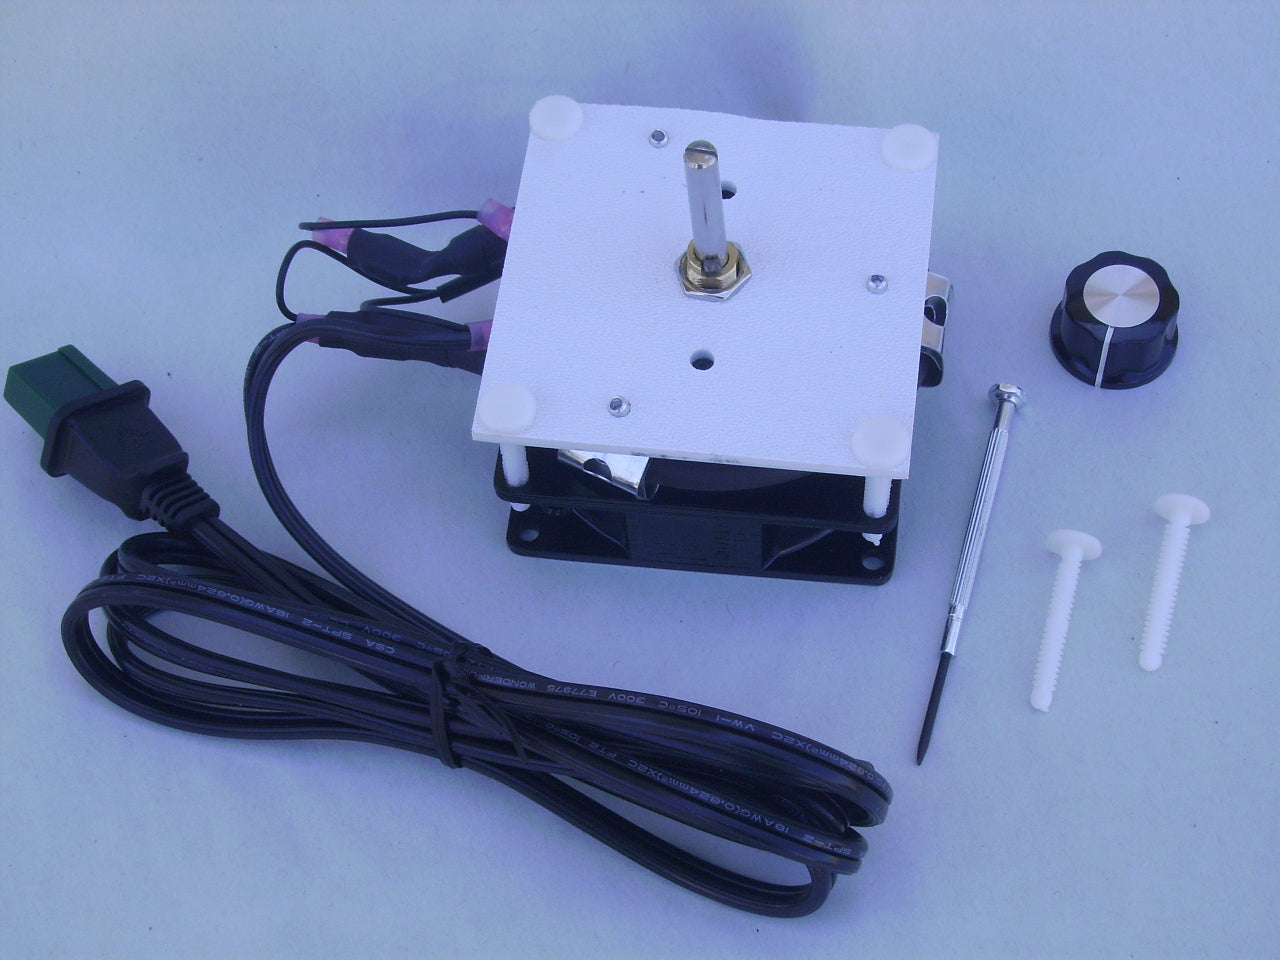
How to use the IncuKit™ in your DIY incubator
So you've heard about the IncuKit? What's all the buzz about?
For starters, the IncuKit may be the world's easiest way to make your own incubator. Why? Because it combines the essential components of a good incubator into one handy little device. It combines the fan, heater and thermostat together so all you have to do is install the IncuKit into your container and you have a forced-air incubator!
We have 2 versions of the IncuKit.
1.) IncuKit Mini - intended for small incubators that need up to about 30-40 watts of power. See this listing: IncuKit Mini
2.) 100 -250 Watt IncuKit XL- use the standard single fan/heater unit with your choice of control unit for medium sized incubators that require up to about 100 watts of power. For large cabinet style incubators that require up to about 225 watts of power add the extra fan/heater and your choice of control unit. See this listing to customize your IncuKit XL to your needs: IncuKit XL
The way you would use each one is a little different, but there are some general guidelines that will apply to each of them.
1. Select the IncuKit that is the right size for the container you will use for your incubator
This starts with understanding how many watts of power your container will need in order to get and keep the incubator at the correct temperature. If you have a larger container, very little insulation, and it's kept in a cold room, you will need more wattage. If your container is small with great insulation and the room temperature is warm, you may need very little wattage. A simple way to determine the wattage you will need is to do the lightbulb test. Start by making your best guess about how much power you will need. Let's say 30 watts, for example. Then get a light bulb that is close to that wattage and turn on the bulb in your container. Use a thermometer to see how easily that amount of power heats up your incubator. Use caution when doing this test since lightbulbs can get very hot and cause fire if they get something else too hot.
2. Determine where in your incubator you will mount the device
The most common place to mount the IncuKit is on the ceiling. This generally allows for the best air flow and even heat distribution throughout the incubator. The device comes with the mounting hardware you need to do this.
3. Make the appropriate mounting holes in your container
The IncuKit comes with a template you can use to make holes in the appropriate place. Use the template to mark where the holes need to go and make the holes with whatever tool is required, based on what your incubator is made of.
4. Mount the IncuKit according to the directions provided with each kit
5. Test the incubator to ensure proper function
Just like any incubator, give the container plenty of time to stabilize before you make any determinations regarding how well it is working. The IncuKit DC and the 225 Watt IncuKit come preset to 99.5 F so there should not be any adjustments needed. But they have a calibration feature just in case they need to be calibrated. The 100 watt IncuKit will need to be adjusted with the use of a thermometer. Put the thermostat knob in the center position and let the incubator stabilize. Then adjust up or down as needed based on the reading on your thermometer. Wait for 20-30 minutes between adjustments to ensure it's properly stabilized.
One issue that comes up occasionally with the 225 Watt IncuKit is the lack of adaquate air circulation because of size and setup of an unusual incuabator design. Depending on the set-up of your incubator, there may be too much interference to get good air circulation just from the fan that is part of the IncuKit. This will usually result in the top part of the incubator getting warmer than the bottom part. If this is the case, we do offer additional fans that may be added to your system to increase the circulation in your incubator.


