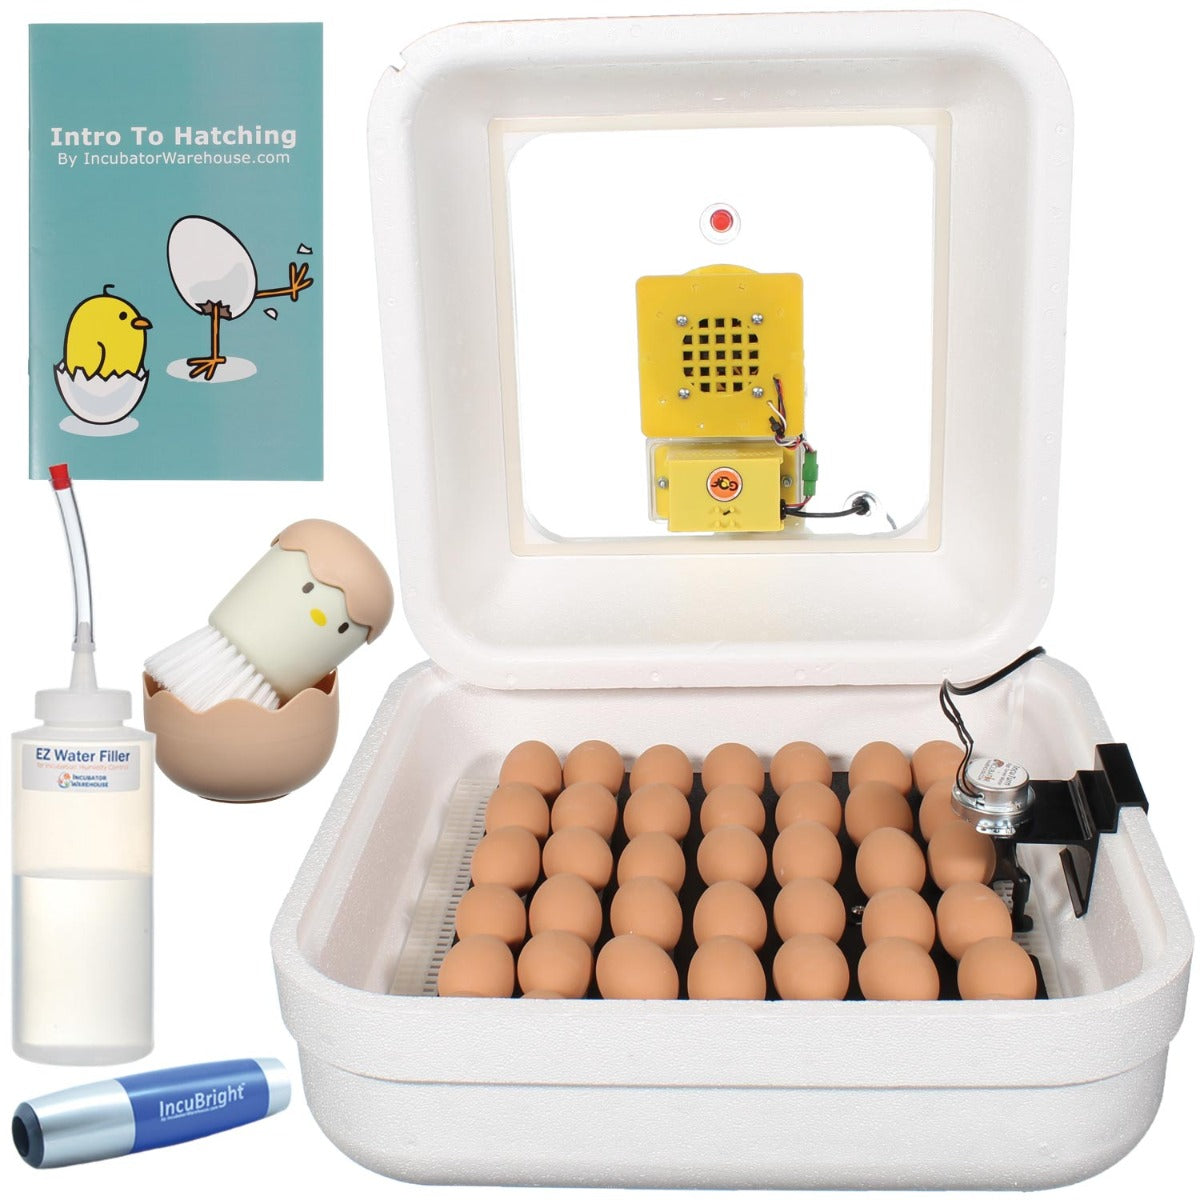
Hatching Eggs can be Fun & Rewarding
Setting your eggs
Eggs have the best hatch rate when stored for no more than 7 days before beginning to incubate. Allow cool eggs to warm slowly to room temperature before placing in the incubator. Abrupt warming from 55 degrees to 100 degrees can cause moisture condensation on the egg shell which can lead to disease and reduced hatches.

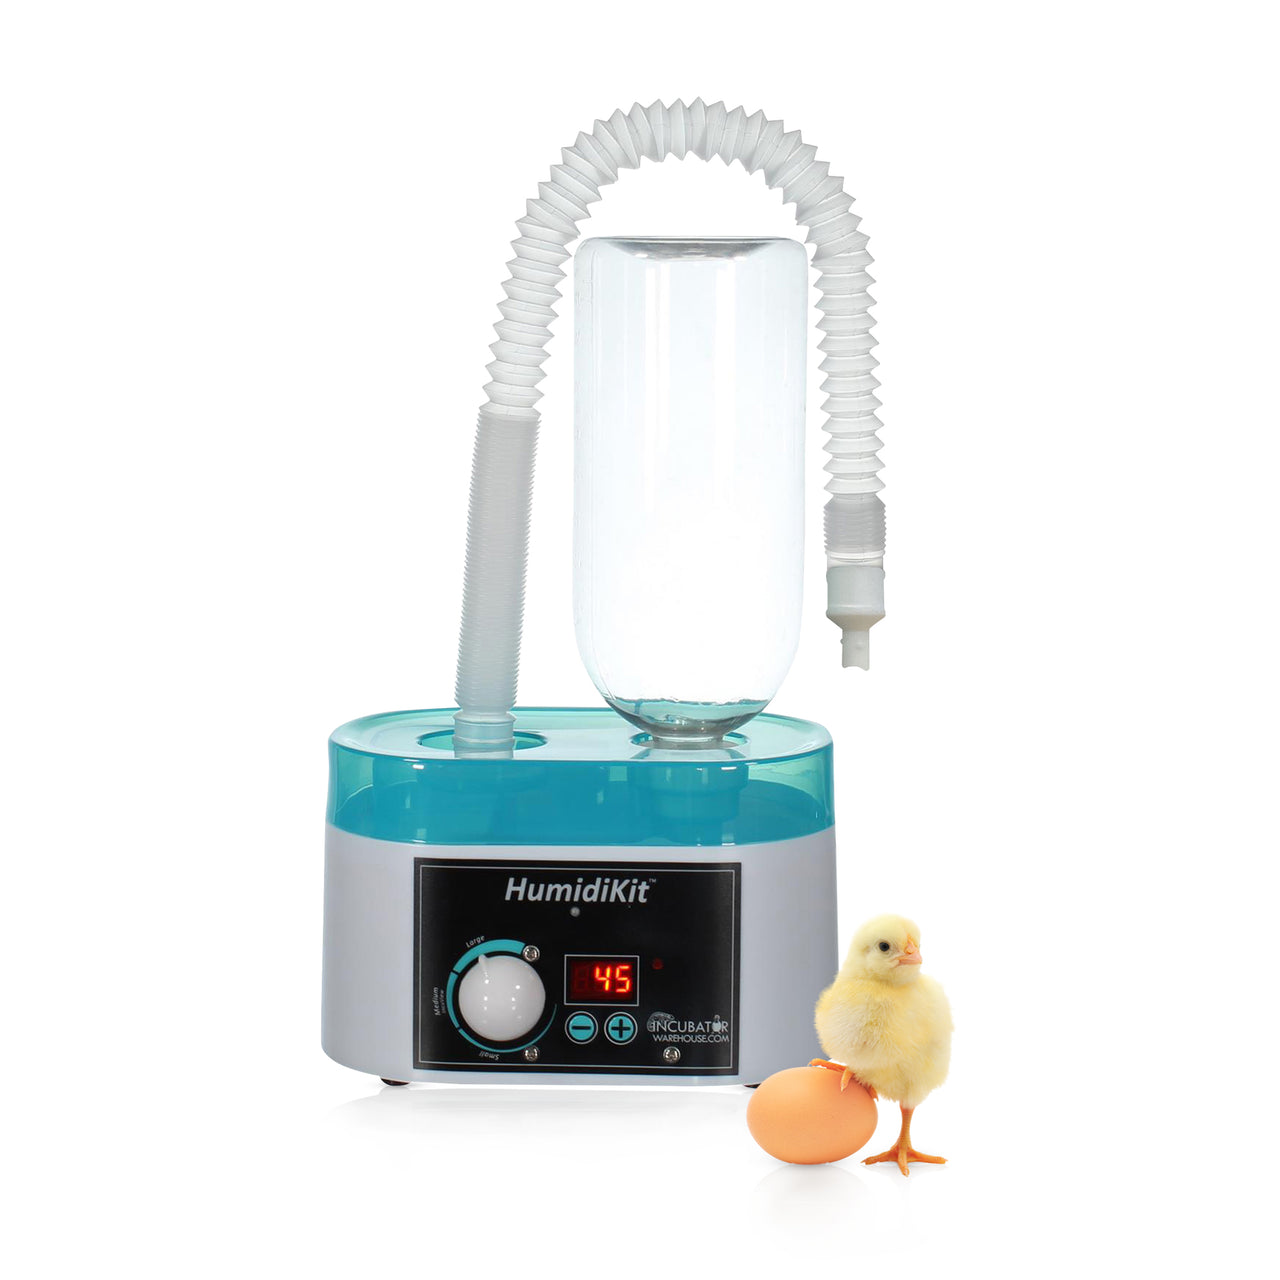
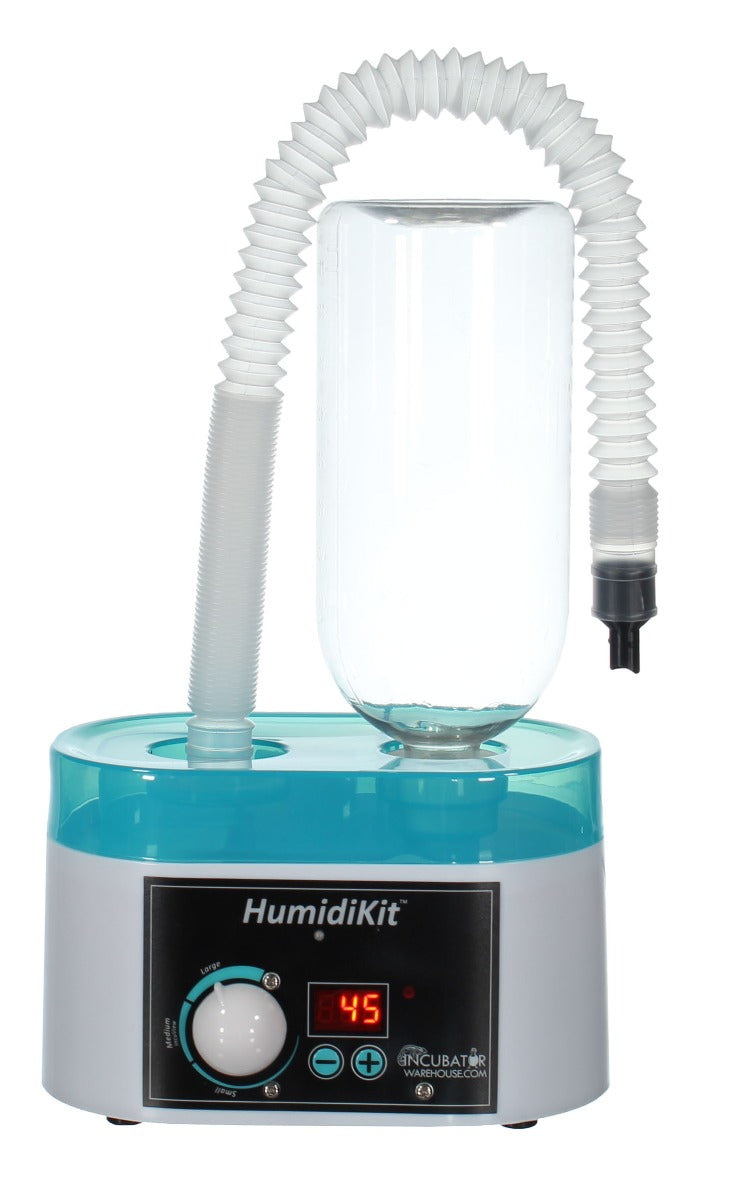
Humidity Control
Humidity is controlled in order to prevent unnecessary loss of egg moisture. The ideal humidity level for hatching eggs is still being debated among experts, but many agree that it should not fall below 25% or above 60% between setting and three days prior to hatching. During the last three days (the "lock-down" period), the humidity level should be increased to between 70-80%. Keeping an adequate humidity range inside your incubator is quite simple. The Little Giant and Hova-Bator incubators come with simple instructions on how to use the water channels in the floor of the incubator. Follow the instructions that come with the incubators. Please note that the humidity in your area will have an impact on how much water you'll need in the incubator to keep it within the correct humidity range. Check the water level periodically to ensure they don't dry out.
Humidity Tip: If you find that you are having a difficult time seeing the water in the channels to know if there is enough water, try this little trick: just add a drop or two of food coloring to the water. As the water level decreases, you'll notice the color of the water (due to the food coloring) start to darken. It will change again when the water channel is actually dry. In the Little Giant, this will color the foam. This will not hurt the incubator, though it sure makes it easier to tell if you have enough water!
Another Tip: Having a hard time getting the humidity high enough? Try placing small sponges inside the incubator. This will increase the surface area that is wet, allowing more water to evaporate into the air which increases the humidity.
Many experts agree that a common cause of poor hatch rates is TOO MUCH humidity during the first part of incubating and NOT ENOUGH during the last three days (the "lock-down" period). Follow the instructions above and the further details you will find in your incubator's instruction guide.

Turning the Eggs
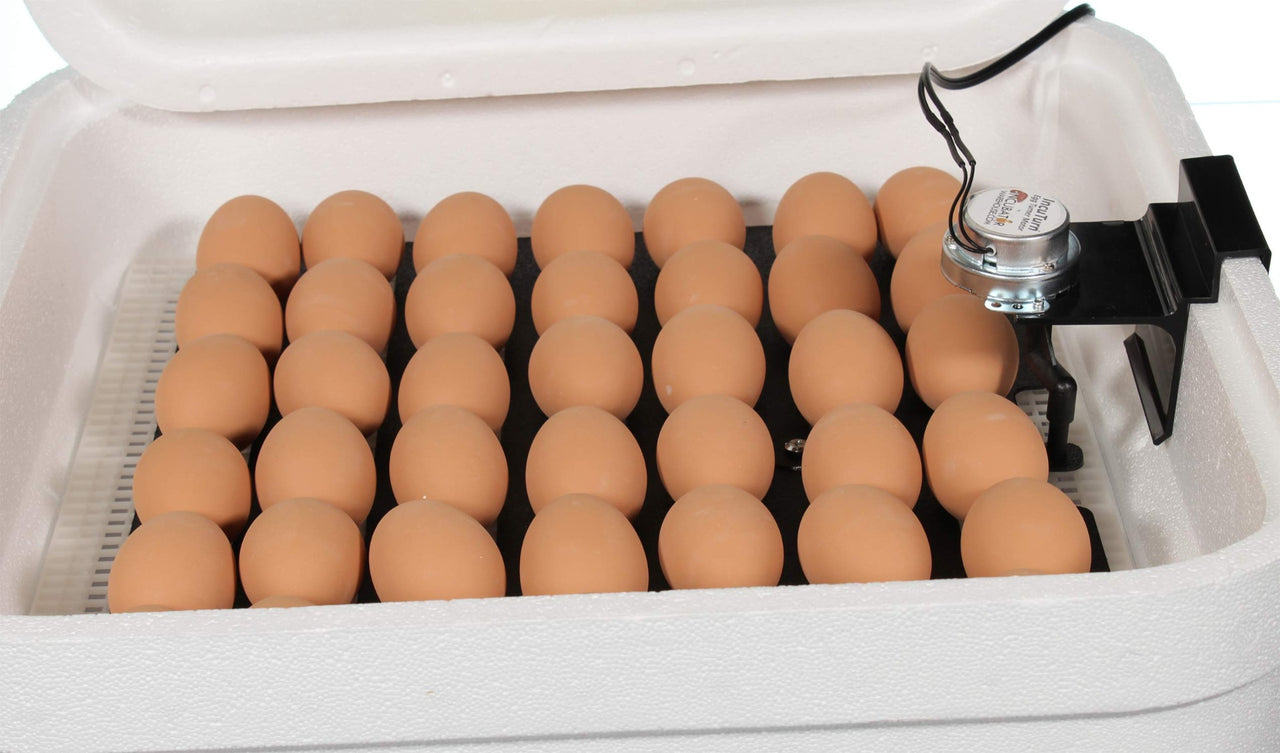
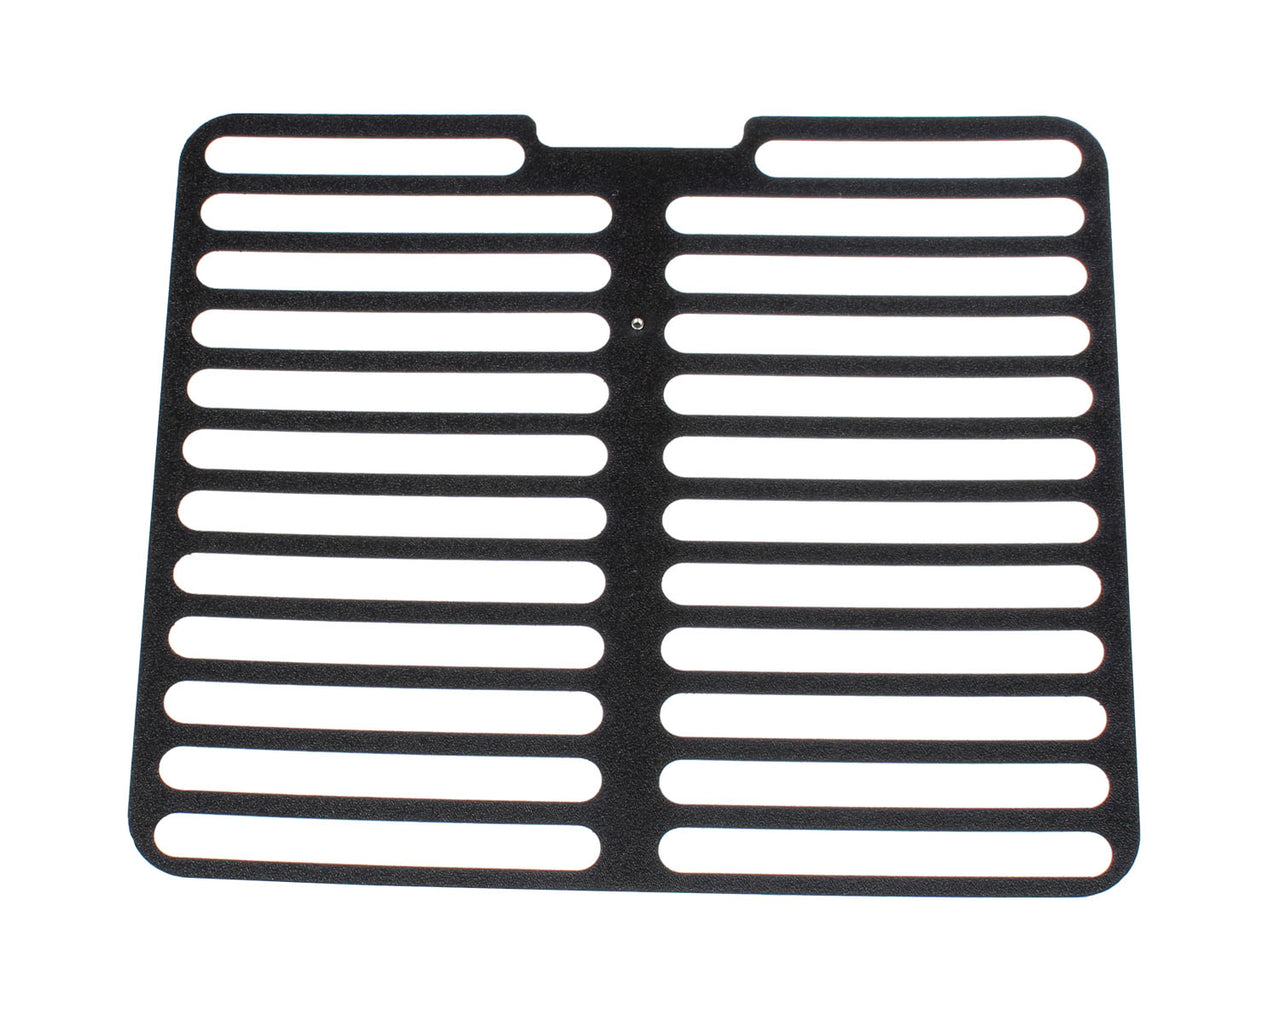
Eggs must be turned at least 2-3 times daily during the incubation period. Many experts say if you can turn them 4-5 times a day it is even better. Do not turn eggs during the last three days before hatching. The embryos are moving into hatching position and need no turning. Keep the incubator closed during hatching to maintain proper temperature and humidity. If you are using an automatic egg turner, then that will take care of the turning for you. Just be sure to remove them from the turner and lay them on the floor of the incubator (most come with a wire floor) three days before hatch.
If you do not have an automatic egg turner, the eggs are set in the incubator horizontally with the large end slightly elevated. This is the way eggs naturally settle when placed on their sides. This enables the embryo to remain oriented in a proper position for hatching. Never set eggs with the small end upward.
When the eggs are turned by hand, it may be helpful to place an "X" on one side of each egg and an "O" on the other side, using a pencil. This serves as an aide to determine whether all eggs are turned. When turning, be sure your hands are free of all greasy or dusty substances. Eggs soiled with oils suffer from reduced hatchability. Take extra precautions when turning eggs during the first week of incubation. The developing embryos have delicate blood vessels that rupture easily when severely jarred or shaken, so take care to handle the eggs carefully. Turn the eggs until three days before they are due to hatch.

What Temperature is Best For Incubating Eggs?
For the most commonly hatched bird eggs (chicken, duck, quail, goose, pheasant, etc), the commonly accepted "ideal" temperature is 99.5F. Even so, some people have their own preferences and will adjust this up or down just a little based on their own experience. The results of having your temperature too high or too low will be seen in your hatching experience. If the temperature is too high, but not too high to kill the embryo, your eggs may hatch sooner than the normal hatch time. Although this may seem like a positive outcome, it can have negative results. An early hatch often results in weak birds that get sick and die easily. This can also cause birth defects, such as deformed feet or heads.
If the temperature is too low, but not low enough to kill the embryo, the eggs may hatch later than the normal time. This often results in too much moisture loss so they have a difficult time getting out of their shell. It also can have the same effect as having the temperature too high: weak birds that are more prone to disease and death.
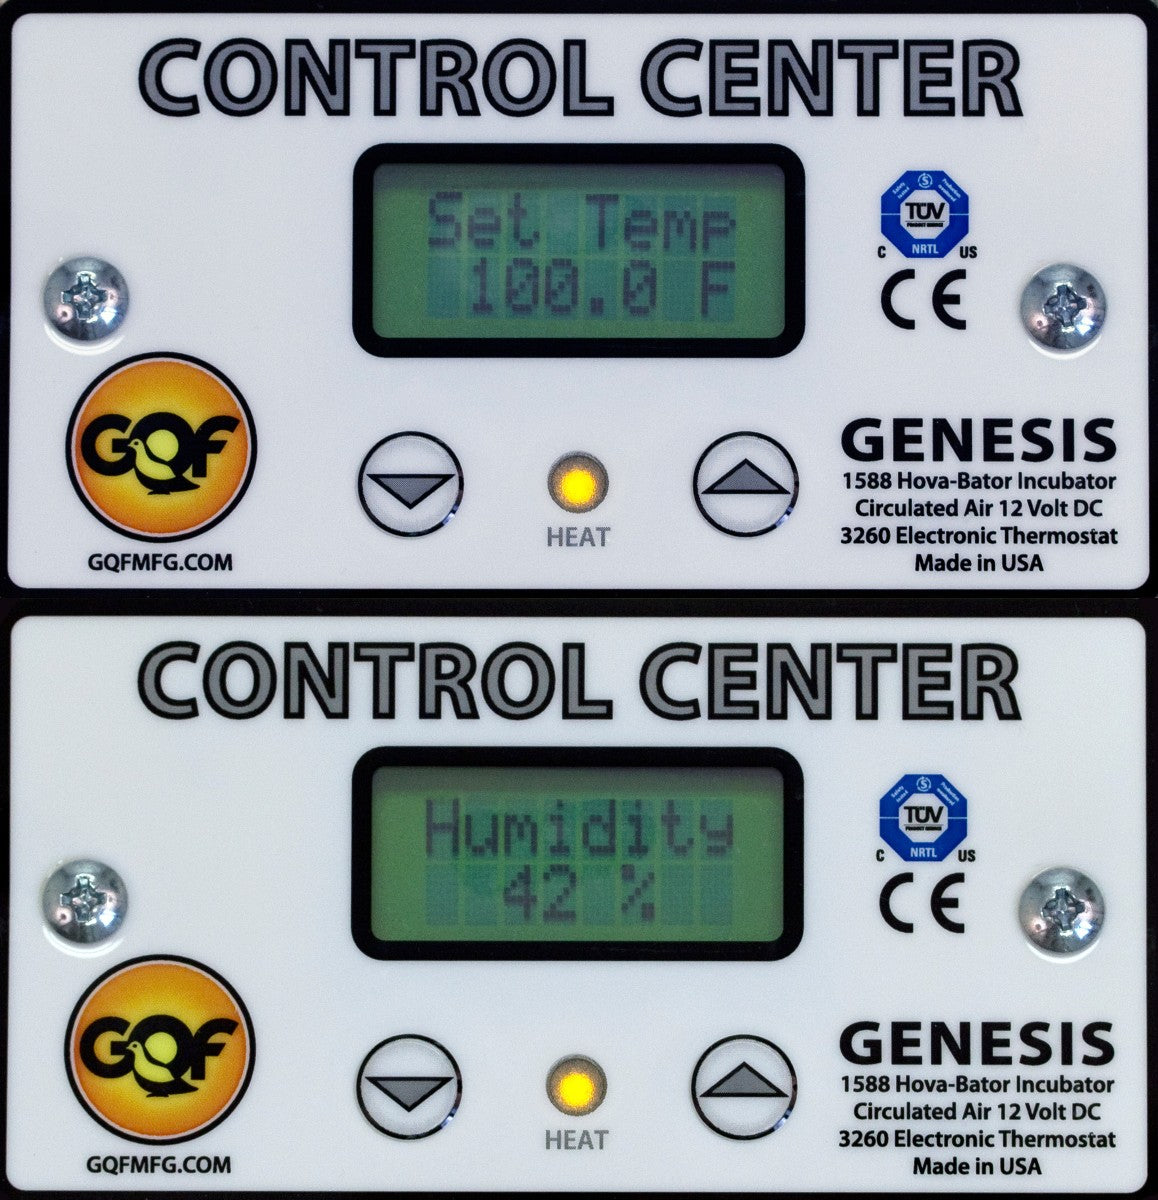
To measure temperature, a good thermometer is required. The simple glass bulb type thermometers that come with the Little Giant and Hova-Bator incubators can do the trick as long as you calibrate them against a thermometer you know to be accurate. Many people prefer a digital thermometer because it is so much easier to read the exact temperature that the unit is displaying. You will also find thermometer options that include a hygrometer, which is used to measure humidity.
Which size egg turner rails should I use?
There are three basic sizes of turner rail options to choose from. The Little Giant brand has two of them, the Hova-Bator has all three. The Little Giant can fit the quail rails (small) and the universal size (medium). It does not accommodate the goose-size (large) since the ceiling on the Little Giant is too low and a goose-size egg would be too close to the heating element.
The Hova-Bator can accommodate all three options. Since it has a higher ceiling, it also provides a goose-sized option. Note that the universal size (medium) rails can accommodate eggs as large as some duck eggs (if they are particularly large duck eggs, you will be better off using goose rails) and all the way down to quail eggs. You only really need quail rails for quail if you want to set more than 40 of them, since the quail rails will allow you to set up to 120 at a time.
Please note that the rails designed for the Hova-Bator and Little Giant are NOT interchangable. They look a lot alike, but they are different enough that they WILL NOT interchange with each other. In other words, the rails for the Hova-Bator turner will NOT fit in the Little Giant. And visa-versa.
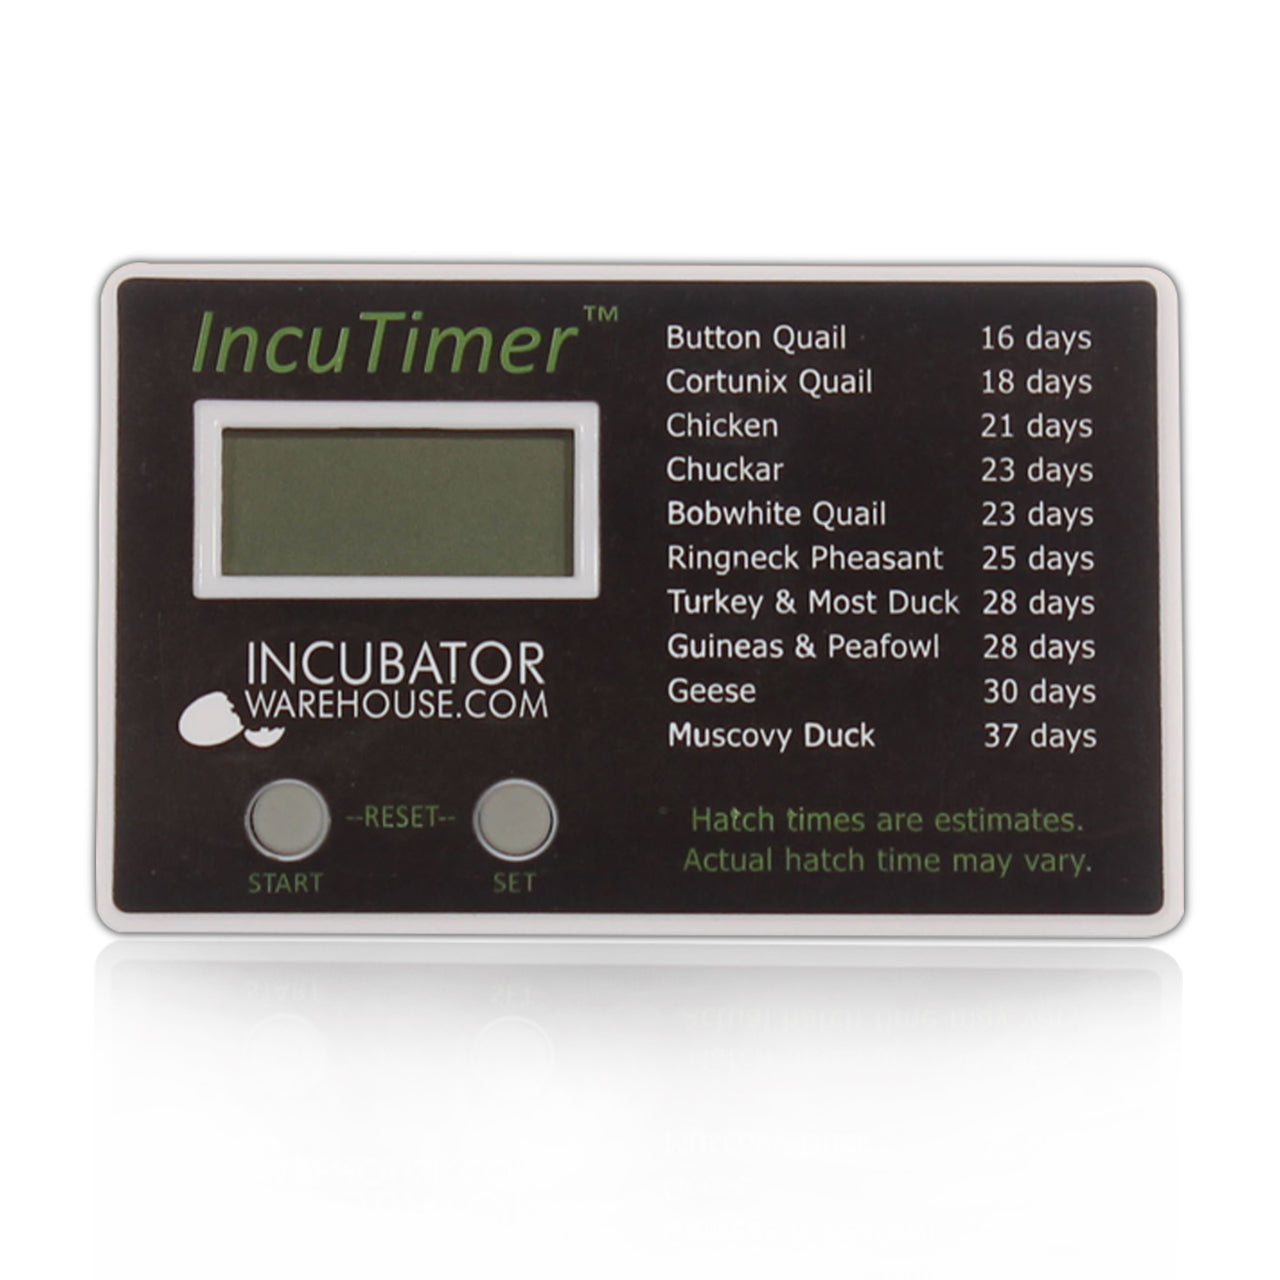
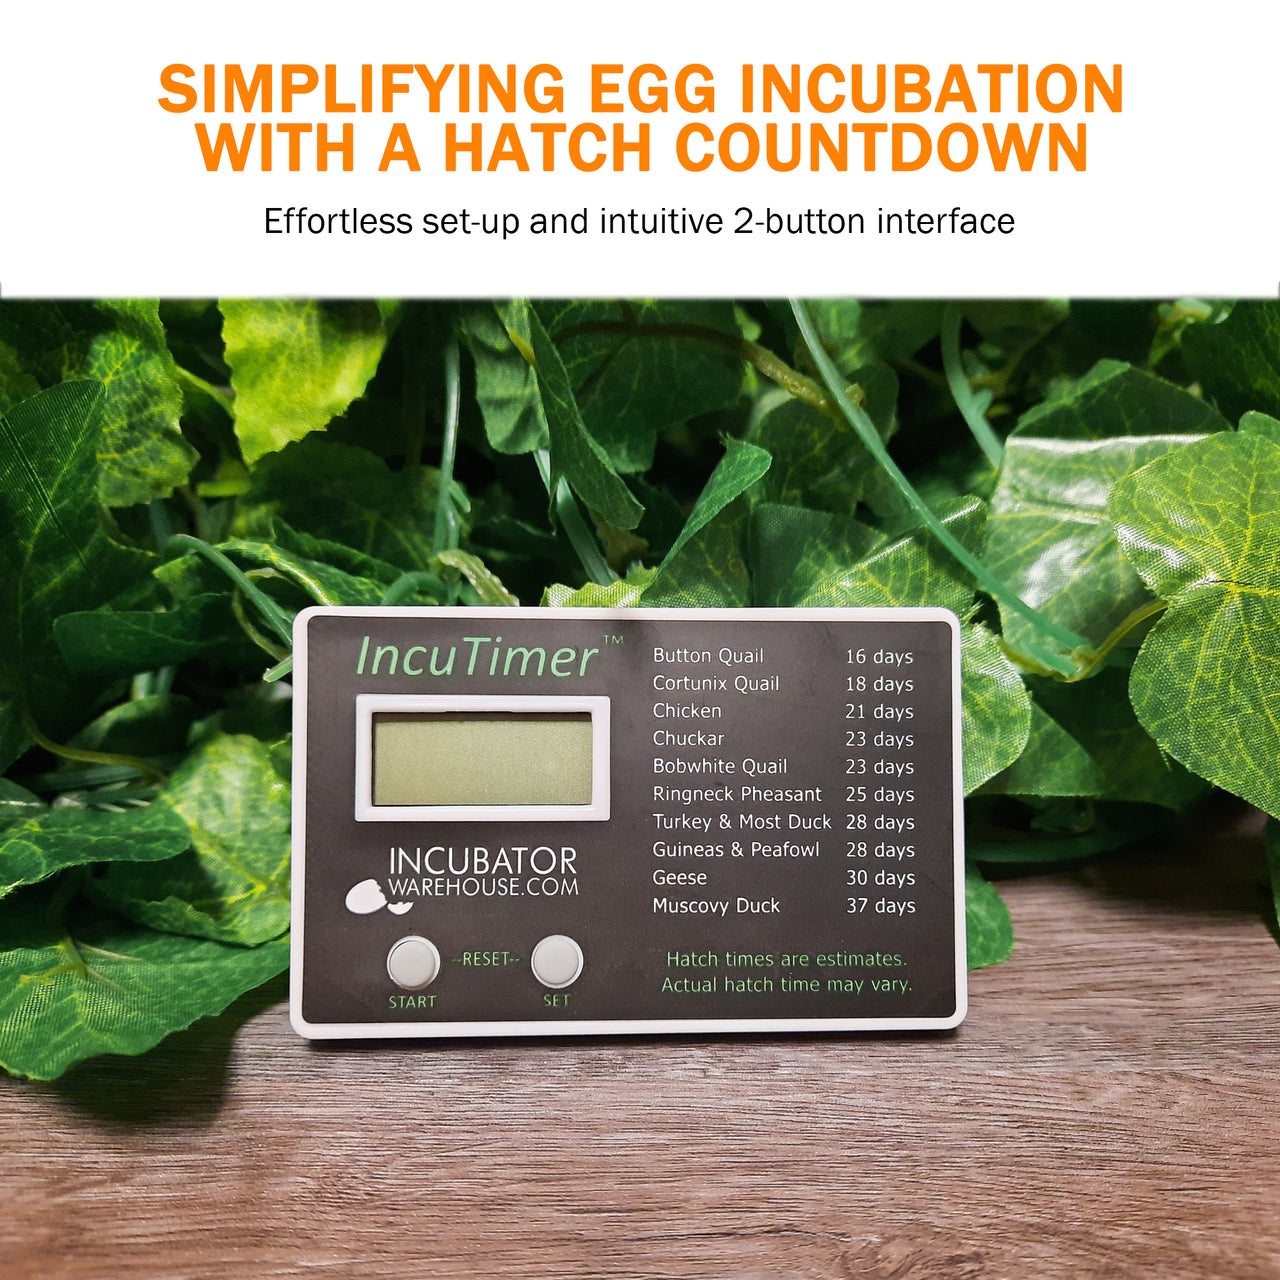
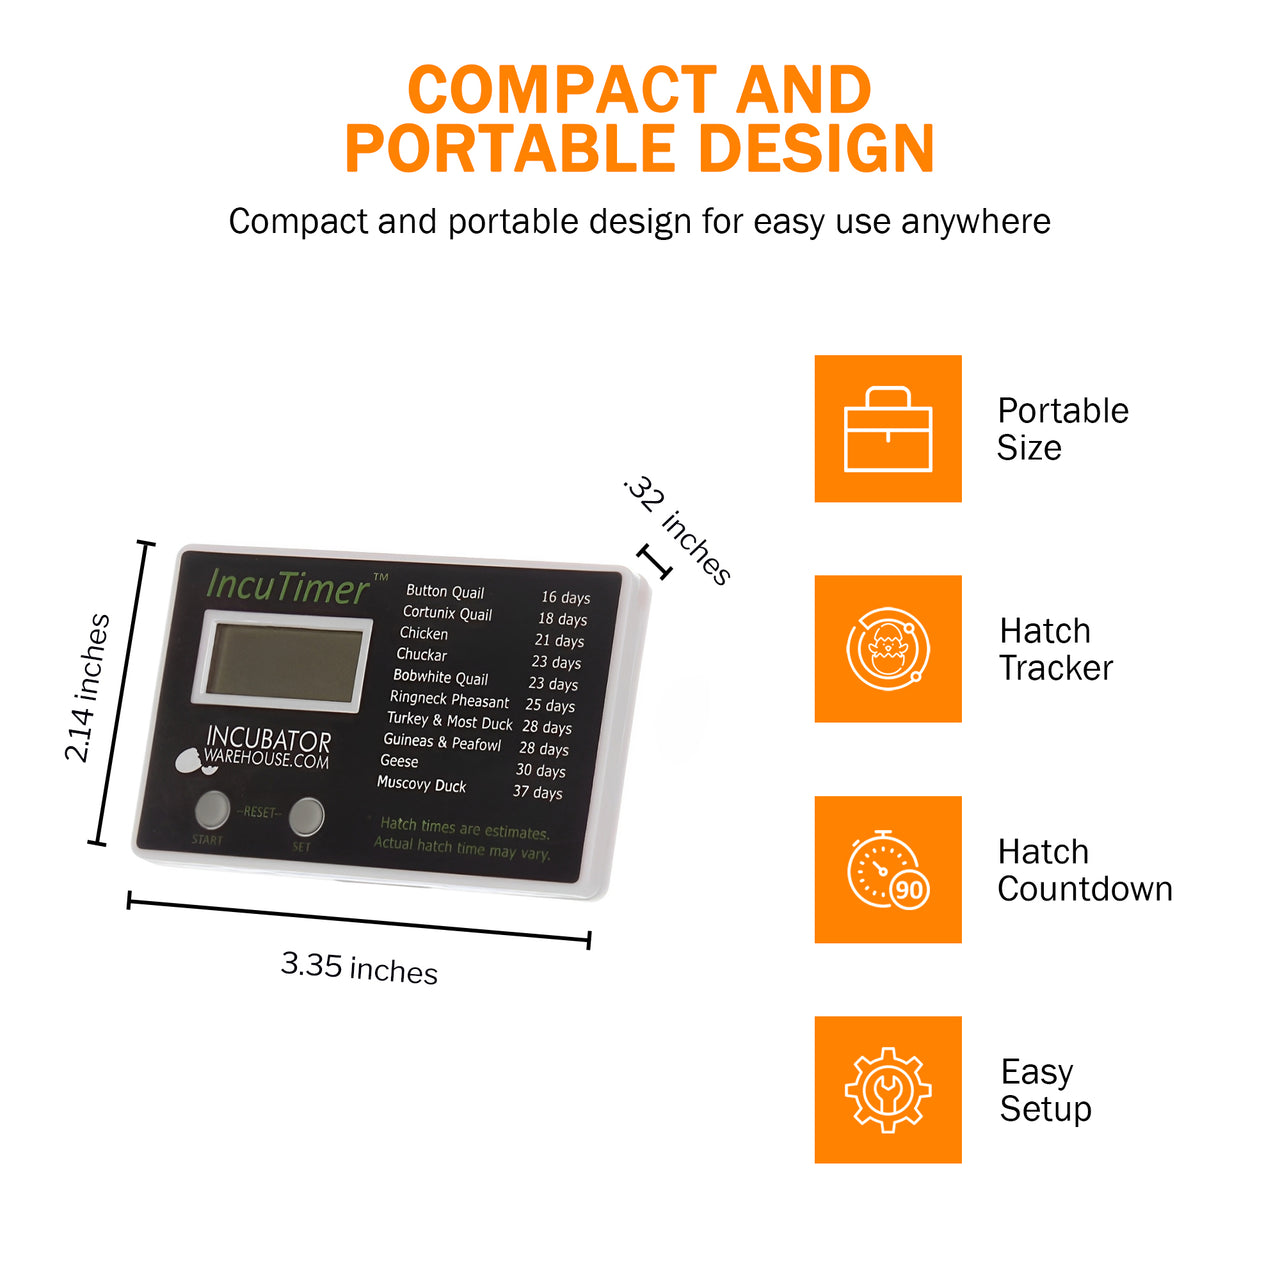
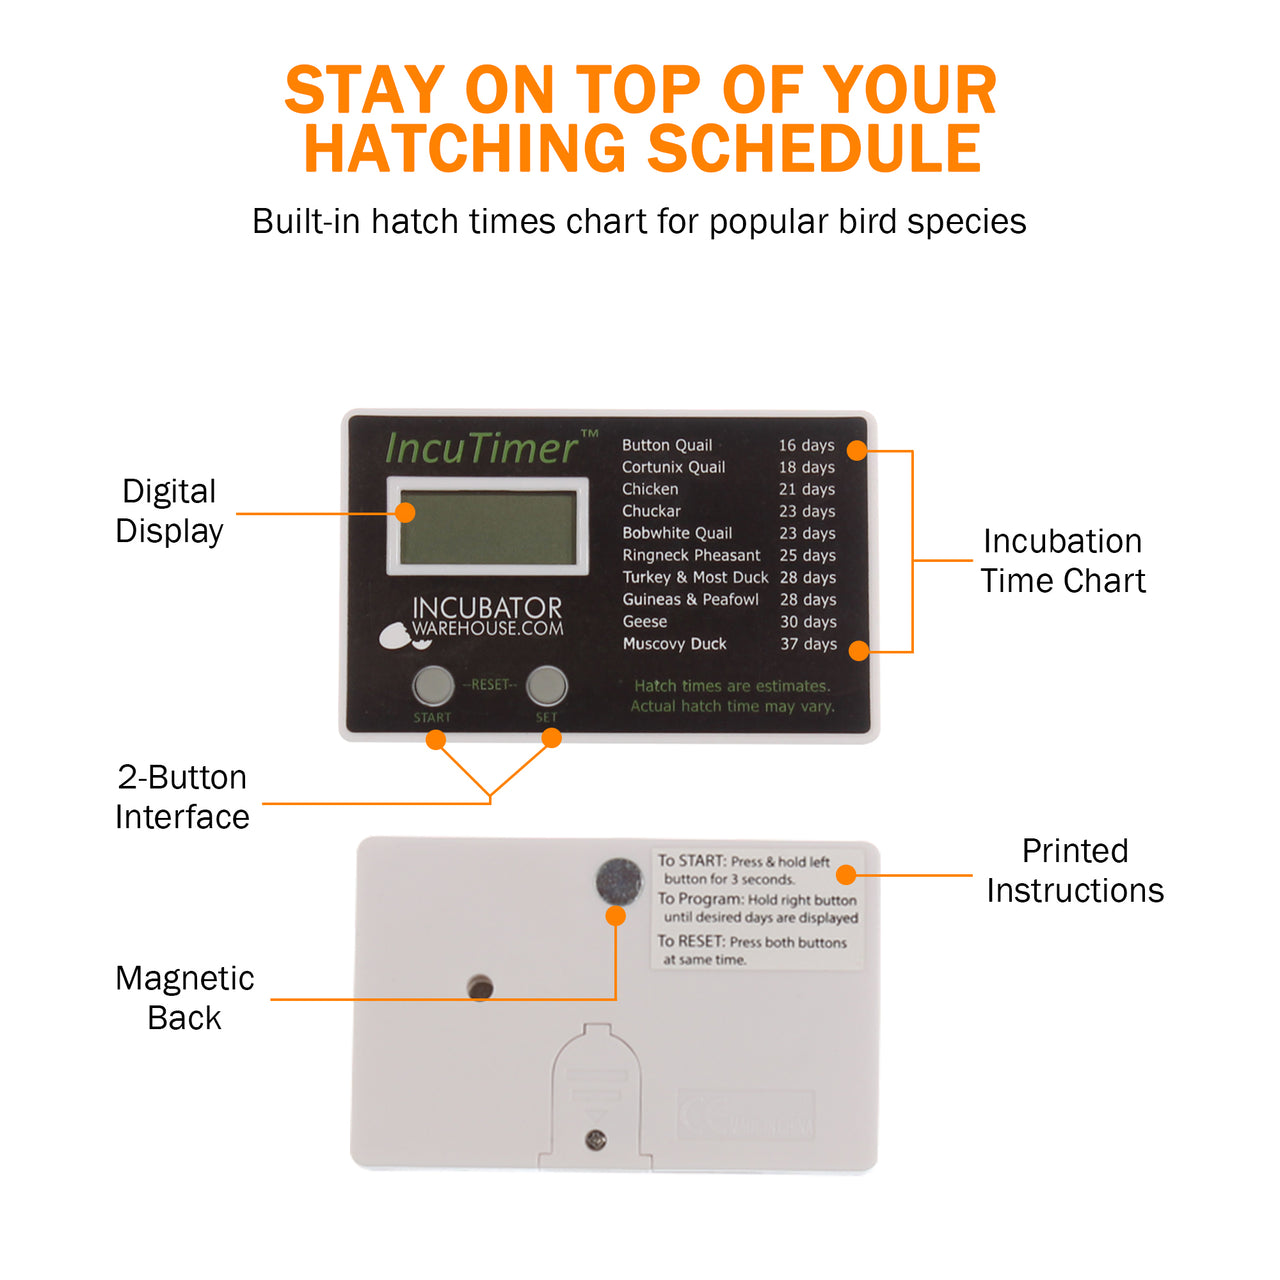
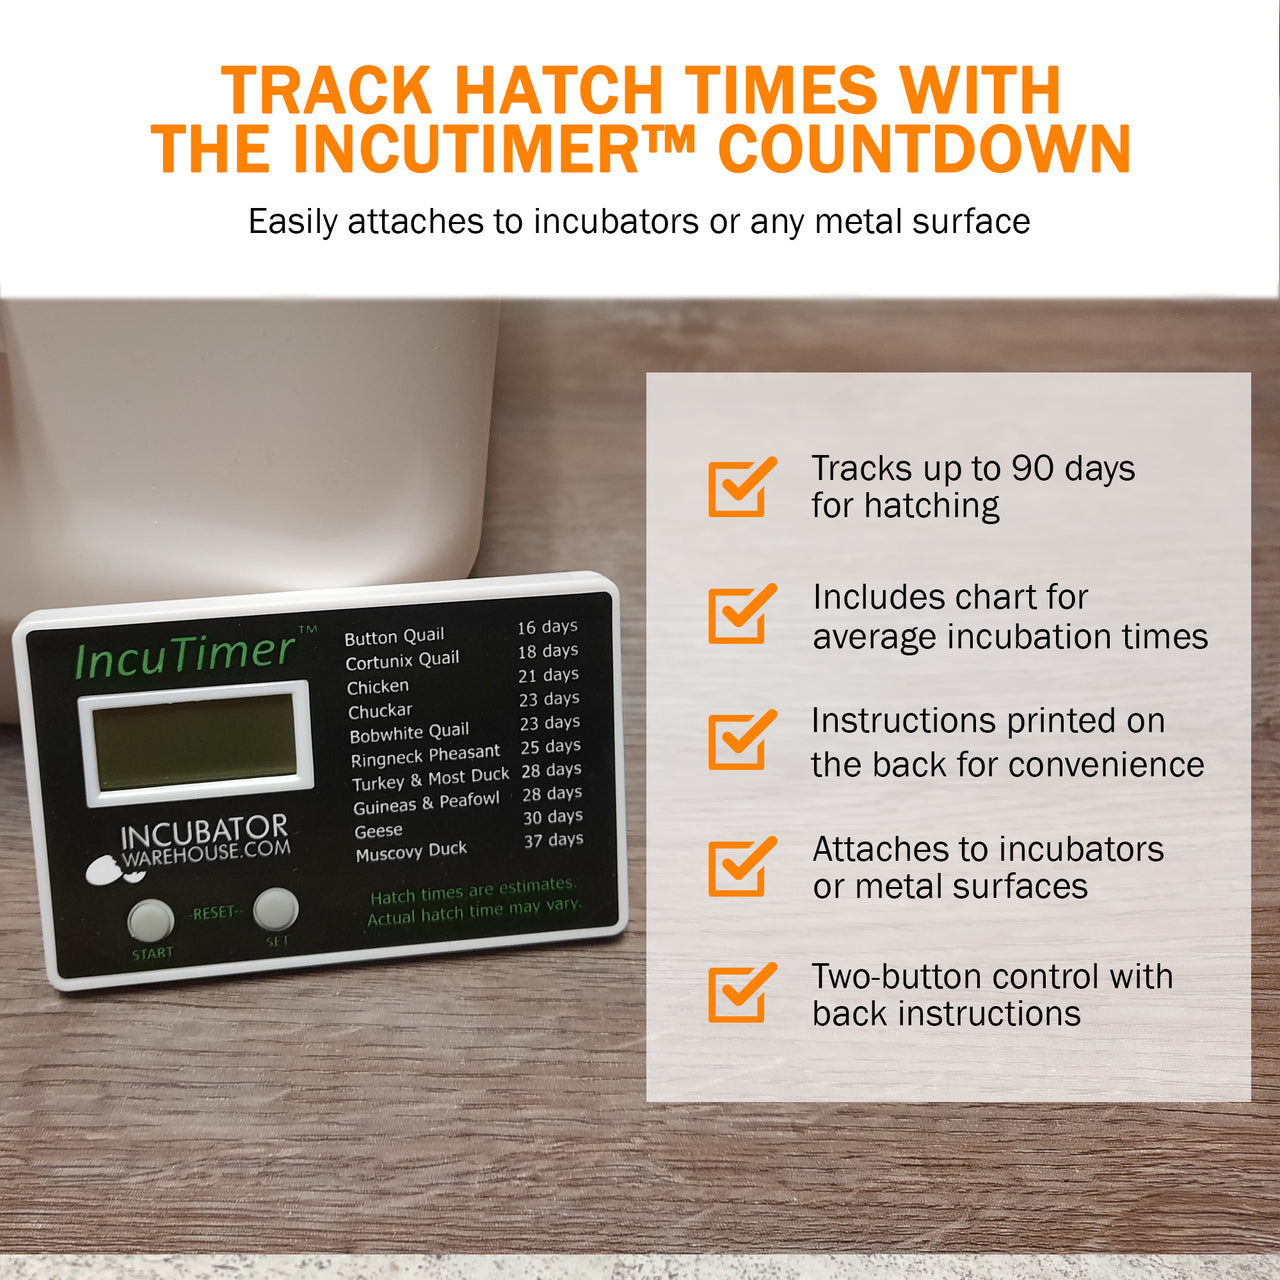
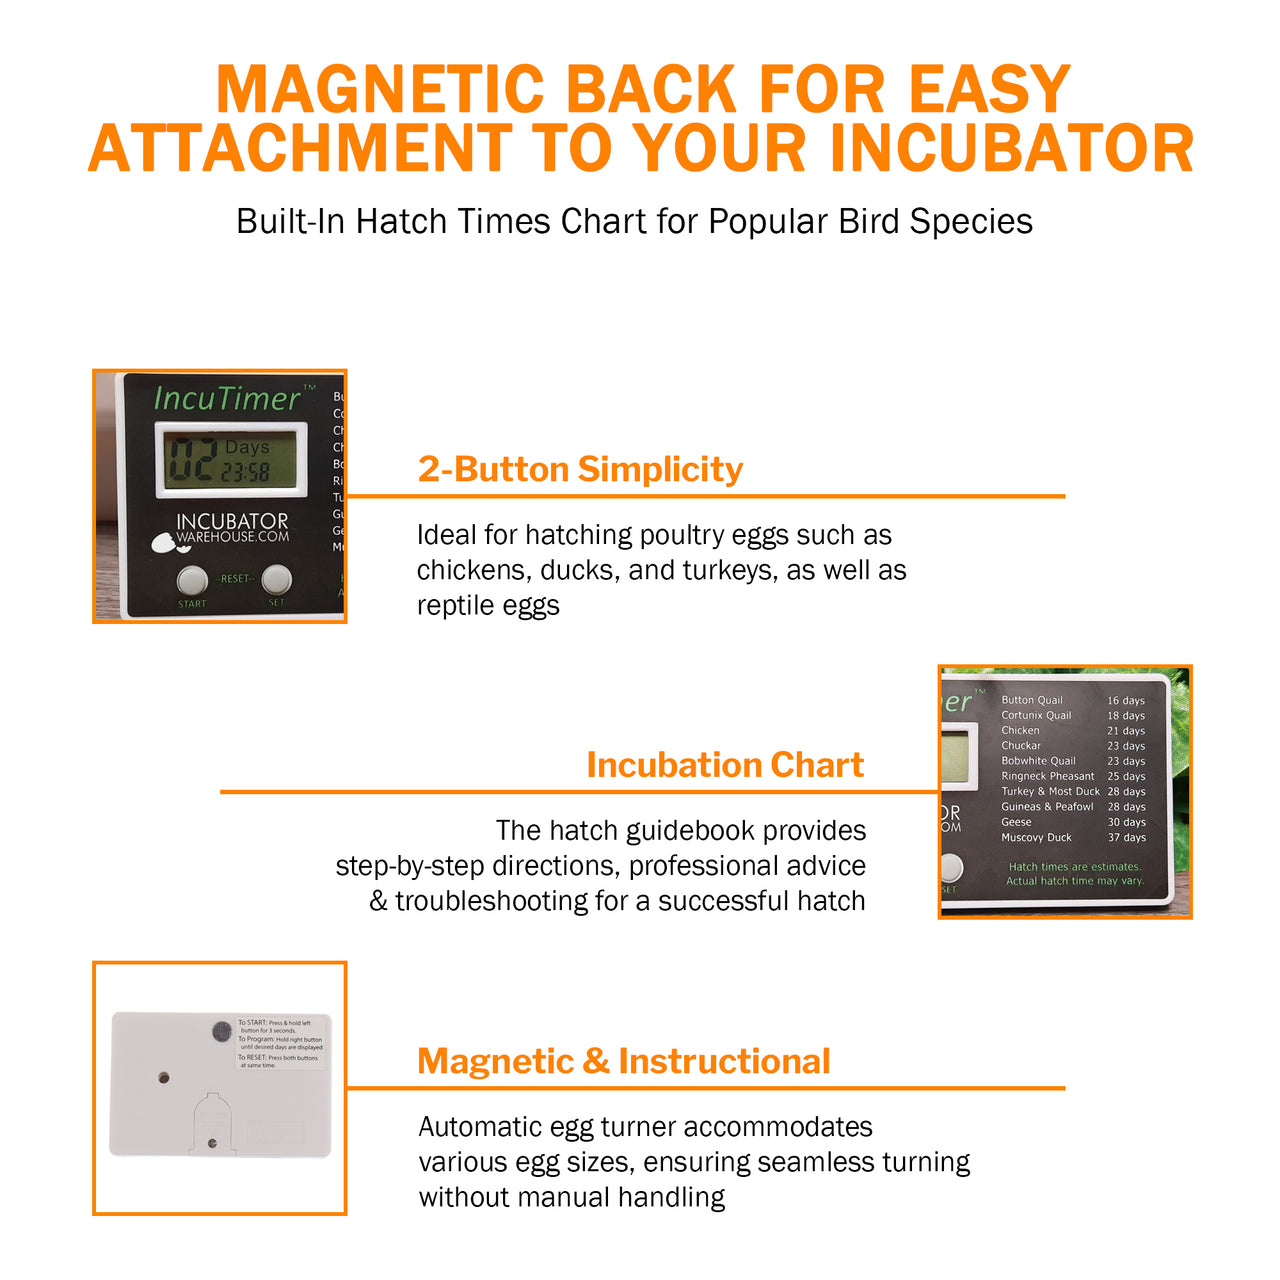
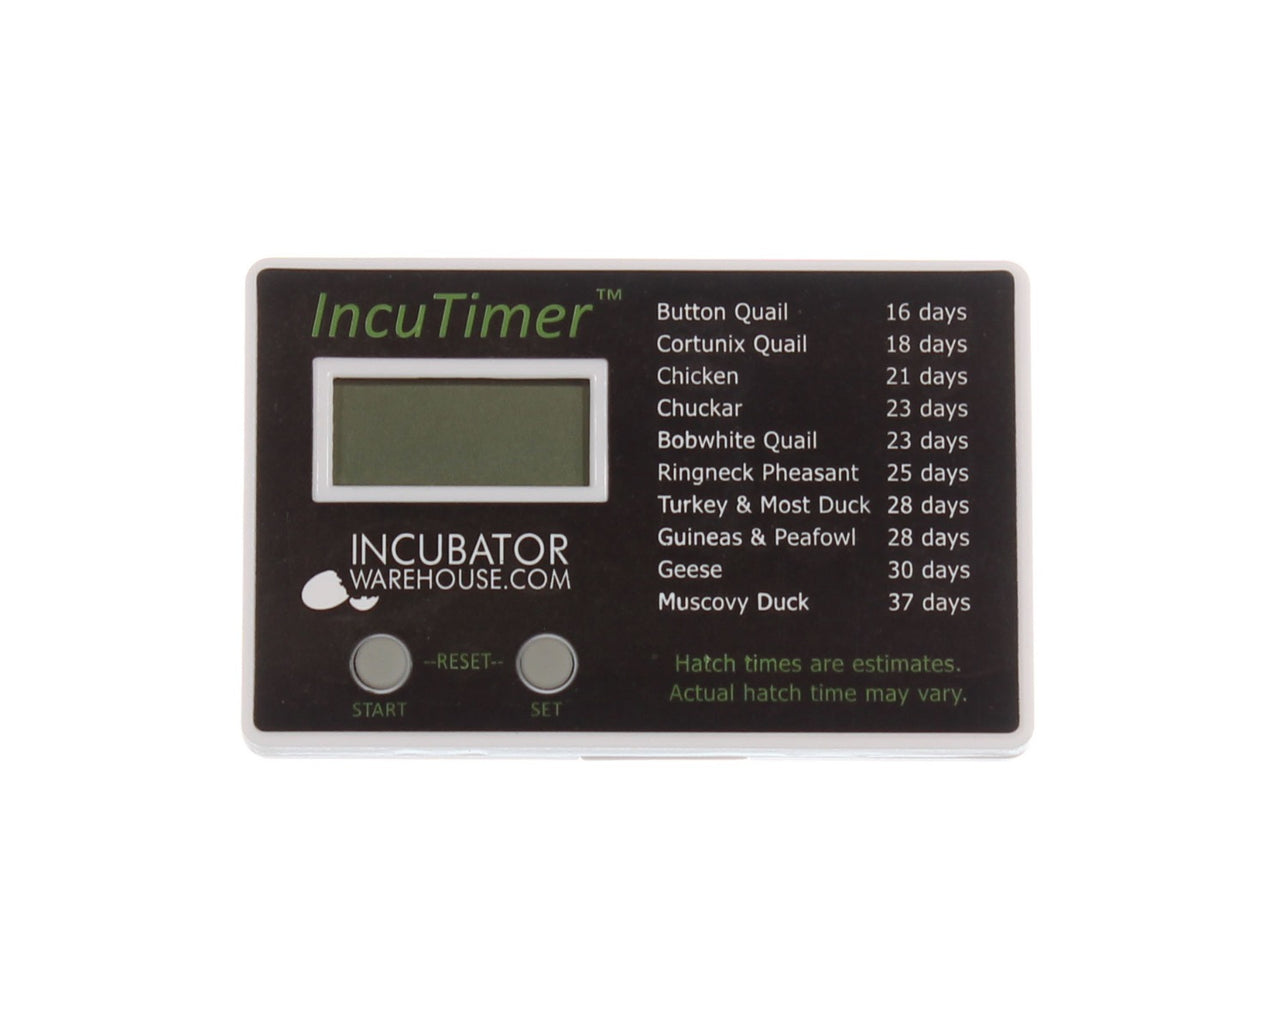
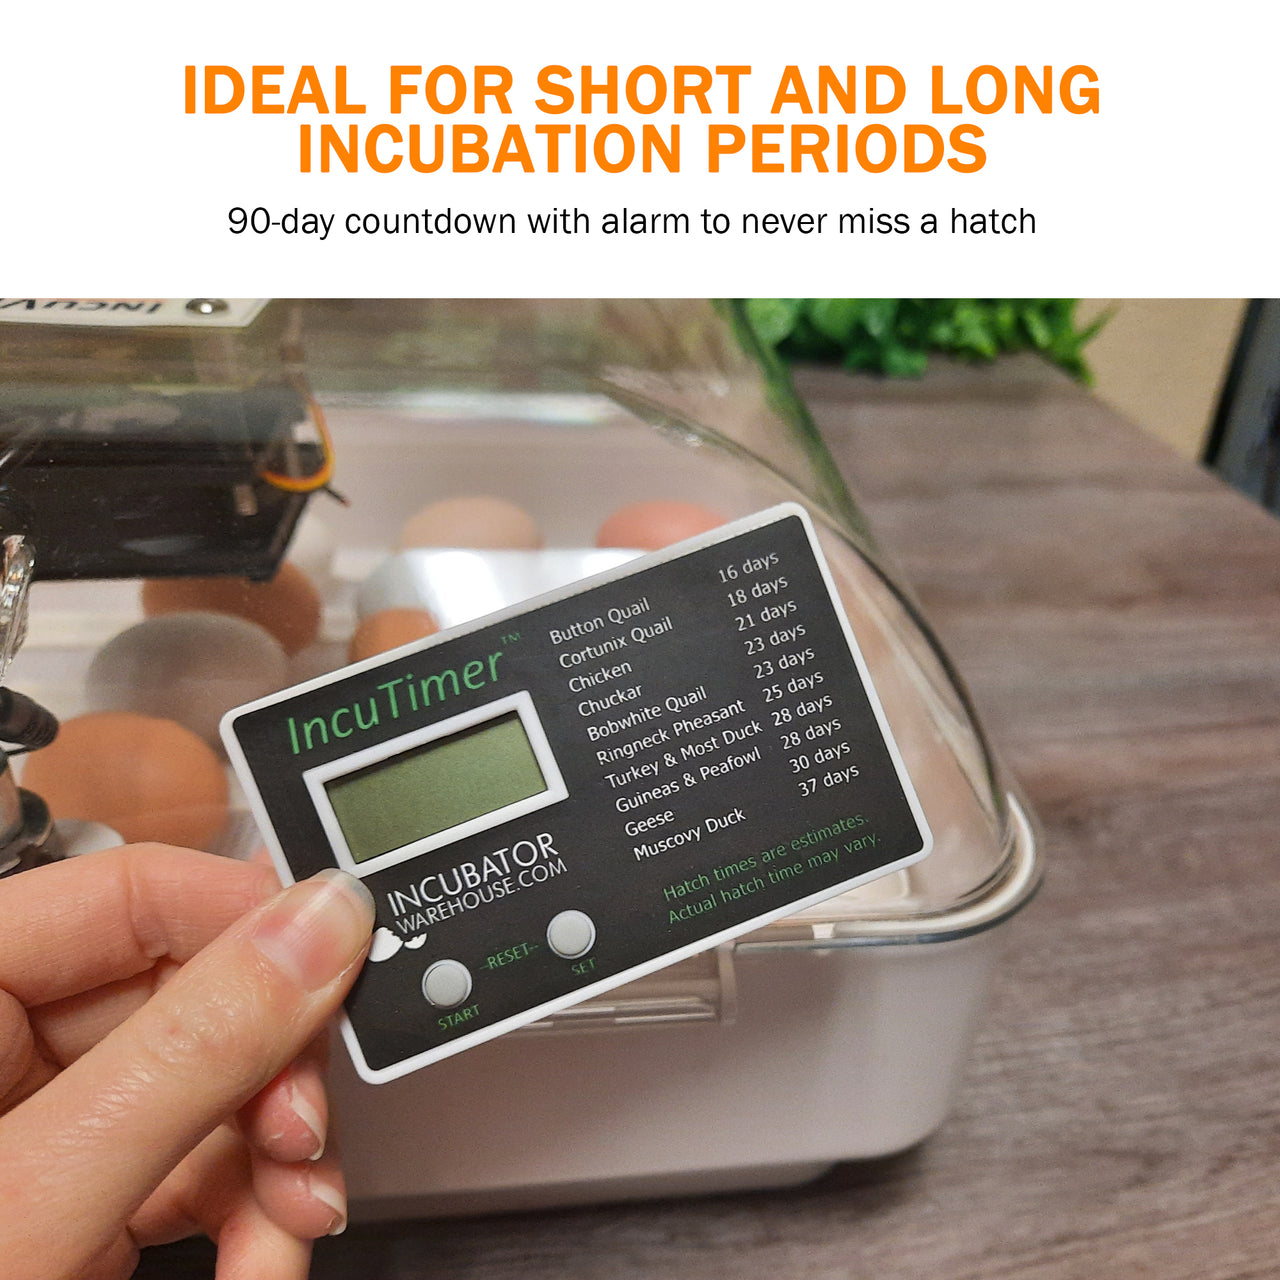
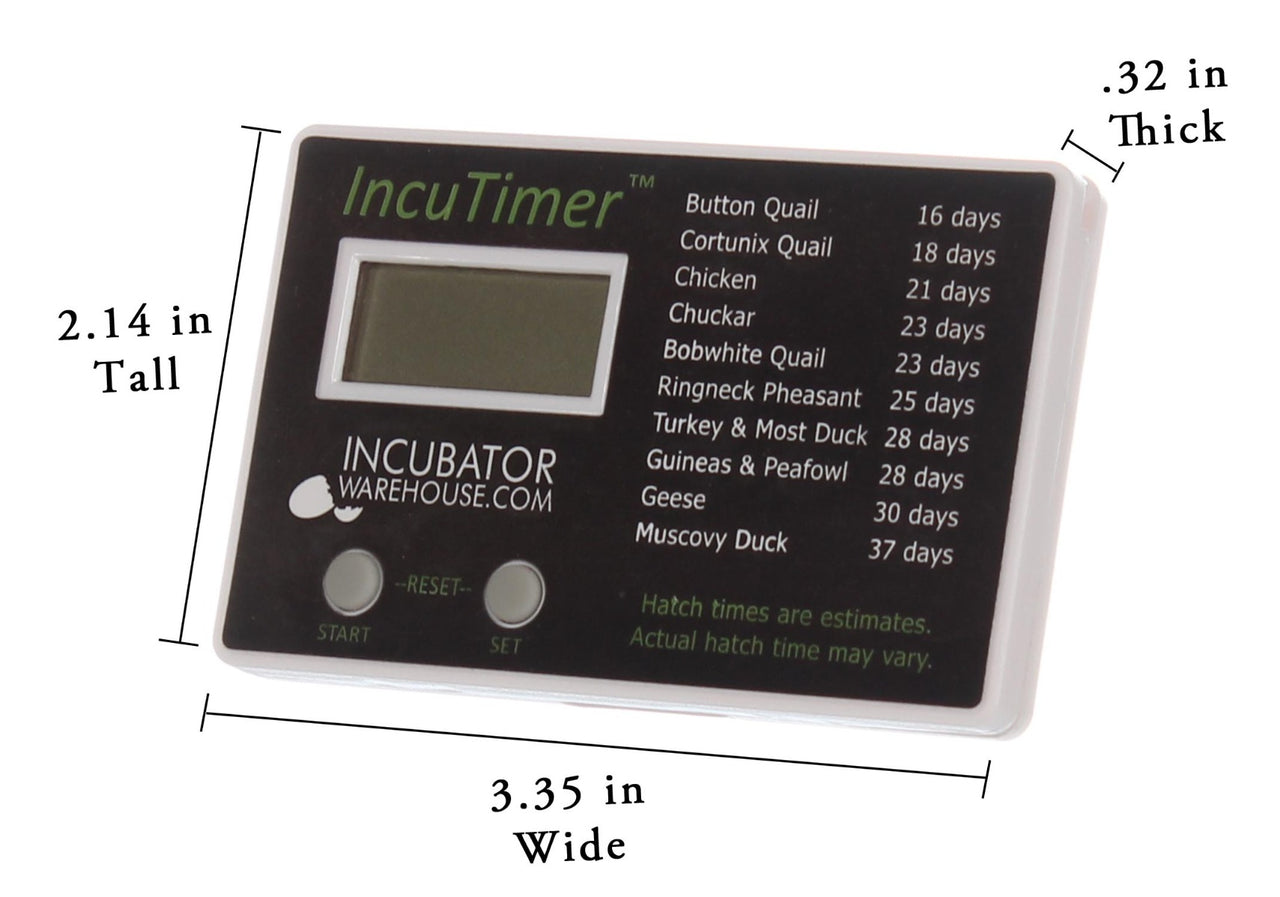
How long to incubate eggs
The time required for an egg to hatch is dependant mostly on the type of egg. The other key factor that has an affect is the temperature of the incubator. If the temperature is a little higher than the correct temperature for that type of egg, the embryo will develop faster than normal and the bird will hatch early (this is not a good thing). If the temperature is lower than the correct temperature for that type of egg, the embryo will develop slower than normal and the bird will hatch later than normal. Neither case is ideal. You should always target having your eggs hatch during the target window that is appropriate for that king of bird.
For a list of normal incubation periods for various kinds of birds, see this chart: Incubation Periods
How do I set the temperature in my incubator?
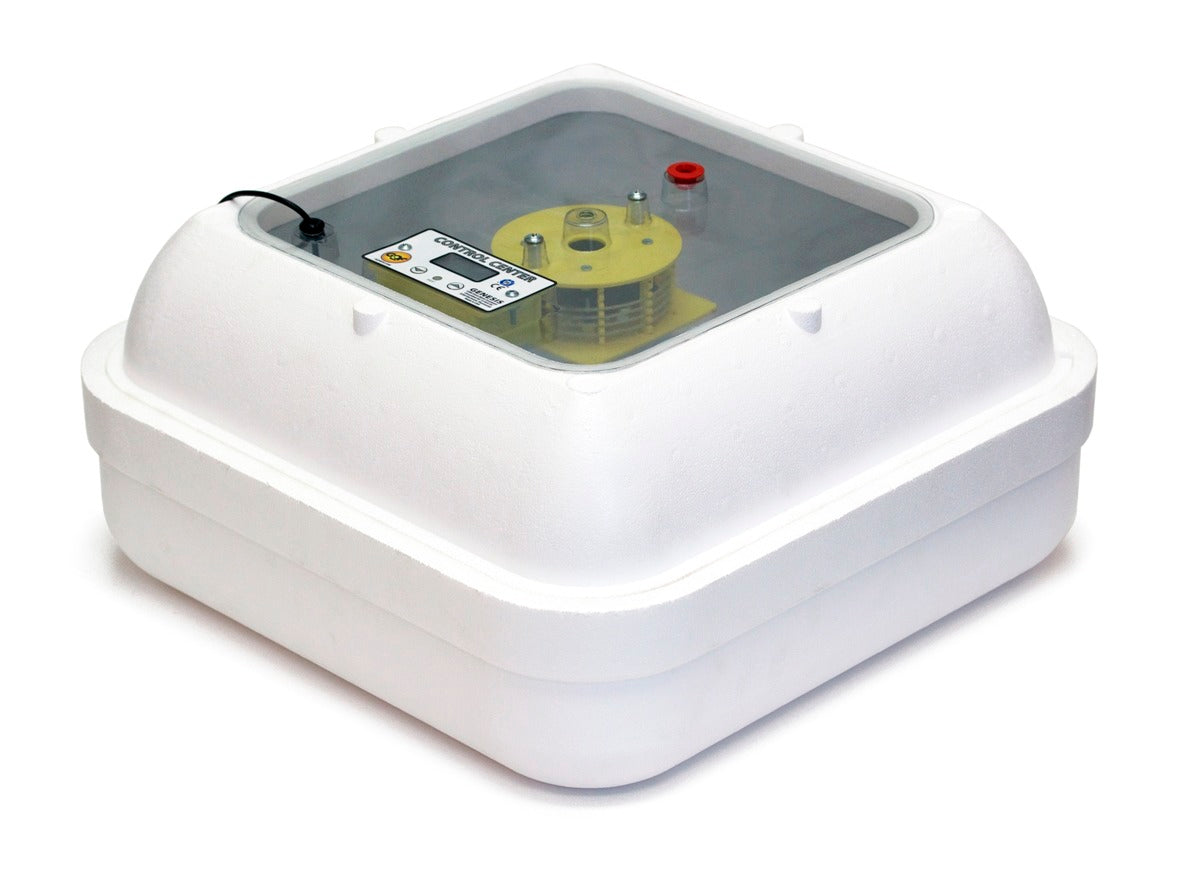
Setting the correct temperature in your incubator is the single most important thing you can do to get a good hatch. However, it's not as simple as it may seem. As you plug in and turn on your incubator and wait for the temperature to stabilize, it's important to understand a few simple things about thermal dynamics (that's just a fancy way of saying "how temperature changes").
The more eggs you have in your incubator, the longer it will take to come up to temperature and stabilize. As the temperature gets close to the set point (the temperature your thermostat is set to), the rate the temperature changes will slow down. You'll find that the incubator will start heating up very quickly at first, but the last little bit can take several hours. This is perfectly normal. It's just how the physics work.
This means that as you wait for the temperature to stabilize, you really do have to be patient and wait awhile (just like your incubator instructions say). And it also means that everytime you adjust the control (change the set point), you have to again be patient and wait for the temperature to stabilize. Keep in mind, the more eggs you have in your incubator, the longer it will take to come up to the set point and stabilize.
What is a hygrometer? Do I really need one?
A hygrometer is a device the measures the amount of humidity in the air. Just as a thermometer measures temperature, a hygrometer measures humidity. Humidity is simply the moisture that is in the air. Have you ever walked outside just after a rain storm and it feels extra muggy outside? That's because there is more moisture in the air from the rain that has fallen. The humidity level has gone up. A hygrometer measures that amount of moisture. It is calculated in terms of "relative humidity" (see the next section for a description of what that means) and will always be in percent form. For example, your thermometer/hygrometer may say that it is 99.5° F with 65% humidity.
Do I need a hygrometer? Good question! The humidity level in your incubator is not as critical as the temperature level, so many people choose not to use a hygrometer. They simply use the water channels in the incubator and hope they stay within an acceptable range. However, if it's not within an acceptable range, you won't have a way of knowing that, and your hatch rate can be negatively affected. Our recommendation is to use one. They are simple to use and don't cost a lot, either. The thermometer/hygrometer combo offered by IncubatorWarehouse.com gives you an easy-to-use and easy-to-read digital device at a very reasonable cost.

"Relative humidity" is a term used to describe the amount of water vapor that exists in the air. The more water vapor there is, the higher the relative humidity. It is normally stated in terms of a percentage, which is the percentage of water vapor that is in the air as compared to how much can be in the air at a certain temperature and pressure.
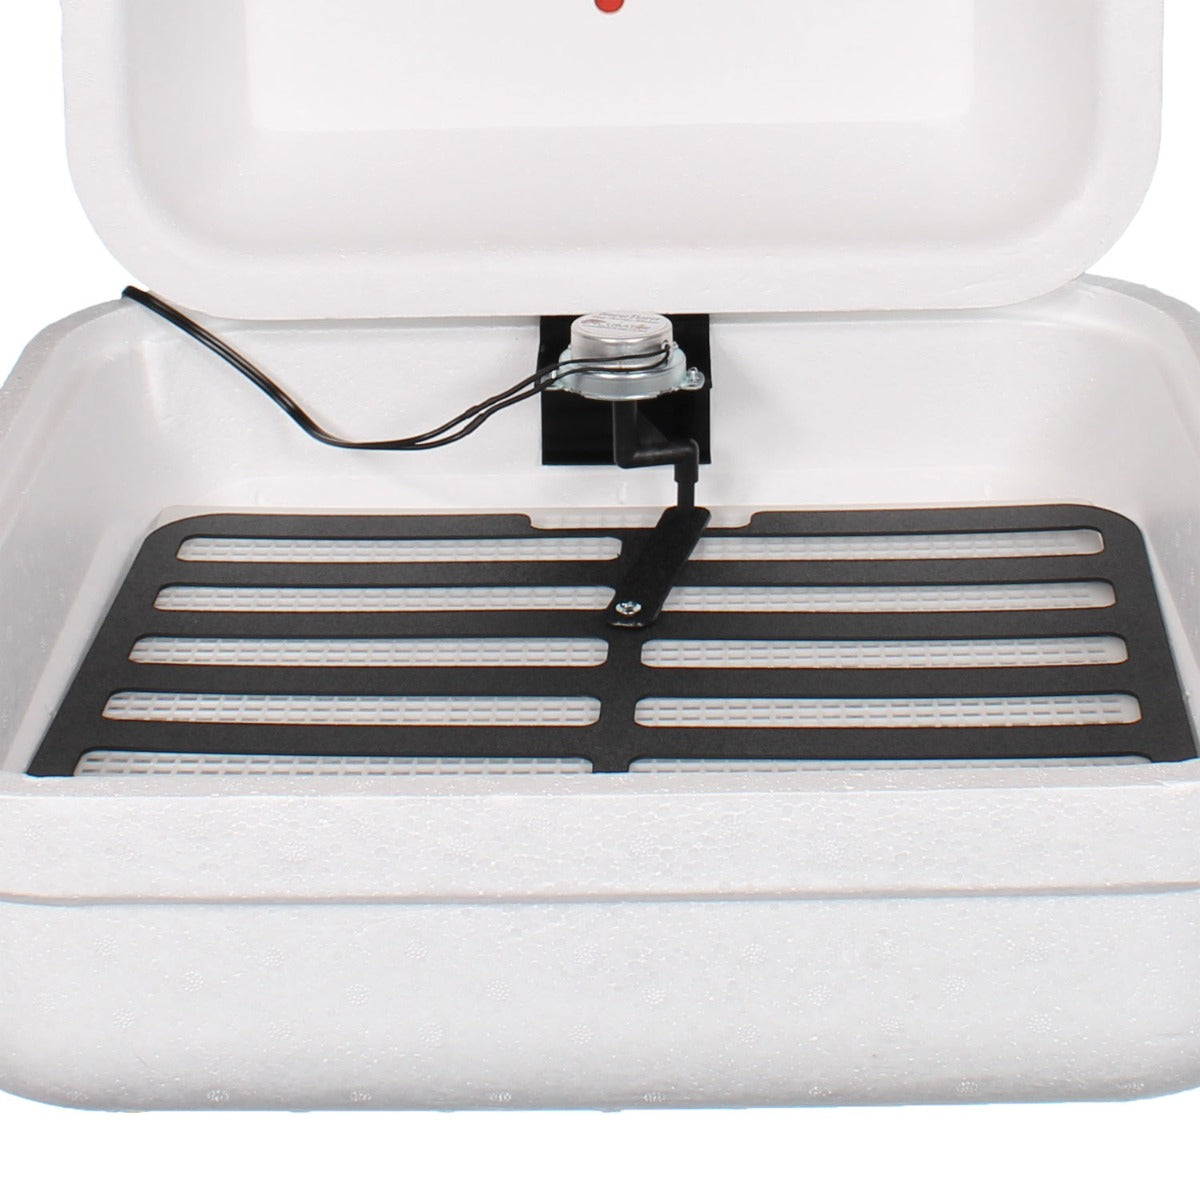
Do I need a fan kit?
That depends. Adding a fan kit to your still air incubator is a great way to increase your hatch rate. In the Hova-Bator and Little Giant egg incubator, the heating element wraps around the inside ceiling. In a still air incubator (an incubator without a fan kit installed), the warm air naturally rises, and will be warmer near the heating element. This can cause cooler areas in your incubator, especially near the corners. The eggs in these areas may be a few degrees cooler than the surrounding eggs and may hatch late, if they hatch at all. That is why we have developed a circulated air fan kit that will turn your Little Giant or Hova-Bator still air incubator into a forced-air incubator. It's easy to install in an egg incubator and is reasonably priced.
A still air incubator is a good fit for someone who is not very concerned with optimizing their hatch rate, or for incubating eggs that do better with still air. Reptile and amphibian eggs, such as snake, lizard, turtle, and frog eggs do best in a still air environment.

Testing the eggs: using a candler or candling box
The best way to test if an egg is "good" (fertile) or not is to use a technique called "candling". This technique gets it's name from the way it was done before electric light bulbs. A person would use a candle to create enough light to try to see what is happening inside an egg. With electric light bulbs, this has become easier and more reliable.
There are two common ways of candling an egg.
1. You can use a candler. This is a special light, much like a flashlight, to see inside the egg. While in a dark room, you simply hold the egg to the end of the candler and you can see much of what is happening inside the egg. The key is to get the egg to fit snuggly on the end of the candler so no light emmits from the seam between the egg and the candler. Normally the candler is made in such a way that the egg easily nestles into the end of the candler.
2. The second common method is using candling box. You make a small hole in one side of a box, just big enough for the egg to nestle well inside it. Then you put a bright light inside the box and close the box (be SUPER careful not to let the bulb touch anything in the box...it's HOT and can cause fire). Darken the room you are in and put the egg onto the hole you have created. You should be able to see inside the egg, just as if you were using a candler.
What should you look for when candling an egg? You are looking for signs of life. And what you will see will depend on how far along the eggs are in the incubation cycle. For chickens, a normal length is 21 days. About 4-5 days into it, you should be able to see veins spreading from the center out towards the shell. A few days later, you'll be able to see the large eye ball forming, and you may see something actually moving inside! As you near the end of the cycle, the egg gets very dark and about the only thing you can see is an air pocket, which should be at the large end of the egg.

The Lock-Down Period
The last 2-3 days before the eggs hatch is a critical time! How do I do it correctly?
There are two important things to do during the last 2-3 days of your hatch.
First: stop turning the eggs. If you are turning the eggs by hand, just stop turning them. If you are using an automatic egg turner, remove the turner from the incubator, place the eggs on the wire mesh, and LEAVE THEM ALONE! This is the stage where the chick will move into its final hatching position.
Second: you need to increase the humidity level in your incubator. During the last three days (the "lock-down" period), the humidity level should be increased to between 70-80%. For information about how to do this, see the section above on "Humidity Control".
More details about the following topics coming soon...
What if my chick has peeped but is not making any progress?
It is quite common for a baby chick to make a small hole in its shell and then get stuck in that spot. If this happens, what should you do? You have probably heard the old saying, "never help a chick out of the shell or it wil die." This can be true, but it can also mean certain death to a chick if you DON'T help it out of it's shell. How do you know if you should help it and how? The answer coming soon.
They hatched...now what? The basics of brooding
Newly hatched chicks need four basic things:
1. A safe place
2. A warm place
3. A dry place
4. Food and water.